App Users
Users
View signups, set sign-up mode (public or invite-only), and manage user accounts in your app.
View and manage everyone who has signed up for your app. The Users section shows all registered accounts.
The user list
Access user management by clicking the Data icon in the top bar, then selecting Users in the sidebar.
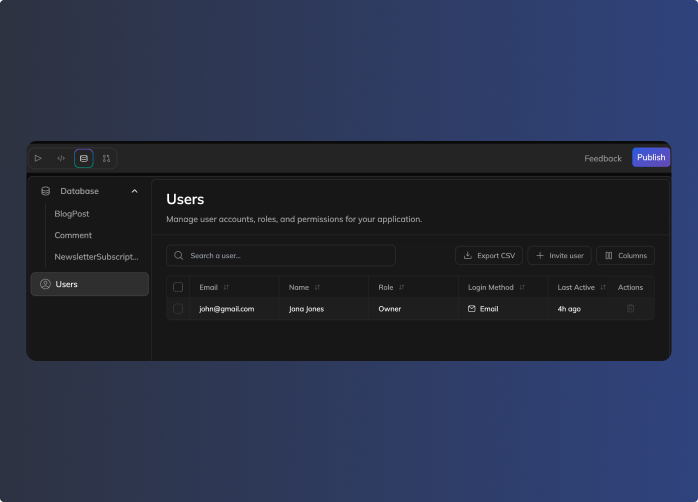
The user list shows:
| Column | What it shows |
|---|---|
| User's email address | |
| Name | Display name |
| Role | Permission level (Admin, User) |
| Login Method | How they sign in (Email, Google, etc.) |
| Last Active | When they last used the app |
| Status | Invited (pending) or Active (signed up) |
| Actions | Delete user, copy invite link |
Searching users
Use the search bar to find users by email or name. Helpful when your app has many users.
Customizing columns
Click Columns to show or hide specific columns in the list.
Sign-up modes
Control who can create accounts in your app. Find this setting at the top of the Users section.
Public sign up
Anyone can create an account. When someone visits your published app, they sign up directly using the available login methods.
Invite-only
Only people you add can sign up. Good for internal tools and team apps.
To switch modes, click Public sign up or Invite-only in the toggle. You'll see a confirmation before the change takes effect.
Granting access
Add users to your app before they sign up. This works in both sign-up modes.
- Click Grant access in the top right
- Enter their email address
- Choose a role (User or Admin)
- Click Grant access
The user appears in your list with an Invited status. Share the app link with them to complete sign-up.
Invite status
| Status | Meaning |
|---|---|
| Invited | Added but hasn't signed up yet |
| Active | Signed up and can use the app |
User roles
Assign roles to control access to data in your app.
| Role | Access level |
|---|---|
| User | Standard access to app features and data. |
| Admin | Access to tables with admin-only security policies. |
Use Admin for users who need elevated database access — like team leads or moderators who should see all records in a table, not just their own.
Changing a user's role
Click the role dropdown in the user list to switch between User and Admin. Changes apply immediately.
Login methods
Users can sign in to your app using different methods:
| Method | Description |
|---|---|
| Email and password | |
| Sign in with Google account |
Managing users
Exporting users
Click Export CSV to download your user list as a spreadsheet. Useful for:
- Keeping records
- Analyzing user data
Deleting users
Click the trash icon in the Actions column to remove a user. This:
- Removes their account from your app
- Prevents them from signing in
- Does not delete records they created (those remain in your database)
⚠️ Heads up: Deleting a user is permanent.
Quick reference
| Task | How to do it |
|---|---|
| View users | Data tab → Users section |
| Find a user | Use the search bar |
| Change user role | Click role dropdown in user list |
| Change columns | Click Columns button |
| Export user list | Click Export CSV |
| Remove a user | Click trash icon in Actions |
Updated 6 months ago