- Anima for Figma
- Install Plugin
- Create a Project
- Preview & Sync Project
- Upgrade Teams
- Sample File & Tutorials
- Anima for Figma
- Flow
- Responsive Design
- Smart Layers
- Links
- Breakpoints
- Set Homepage
- Hover Effects
- Entrance Animation
- Fixed Position
- Forms & Text Input
- Videos/GIF/Lottie
- Embed Code
- Play
- Breakpoints Viewport
- Comments
- Code
- Share Prototype
- Manage Access Levels
- Publish Website
- Custom Domains
- Analytics
- Project Settings
Getting Started
Prototype
Collaborate
Prototype Link
Project Settings
Built with ❤️ in NYC & TLV
Analytics
Introduction
To track incoming traffic into your website you can signup to any of the Analytics providers and paste in the code snippet they provide.
Guide Overview:
- Signup to an Analytics provider of your choice
- Create a website tracking project in the Analytic’s provider dashboard
- Copy the analytics code snippet
- Go to your Anima project settings > Prototype Link tab > and expand the SEO Settings section
- Paste the analytics code snippet in the Analytics section
Google Analytics
Create website tracking project: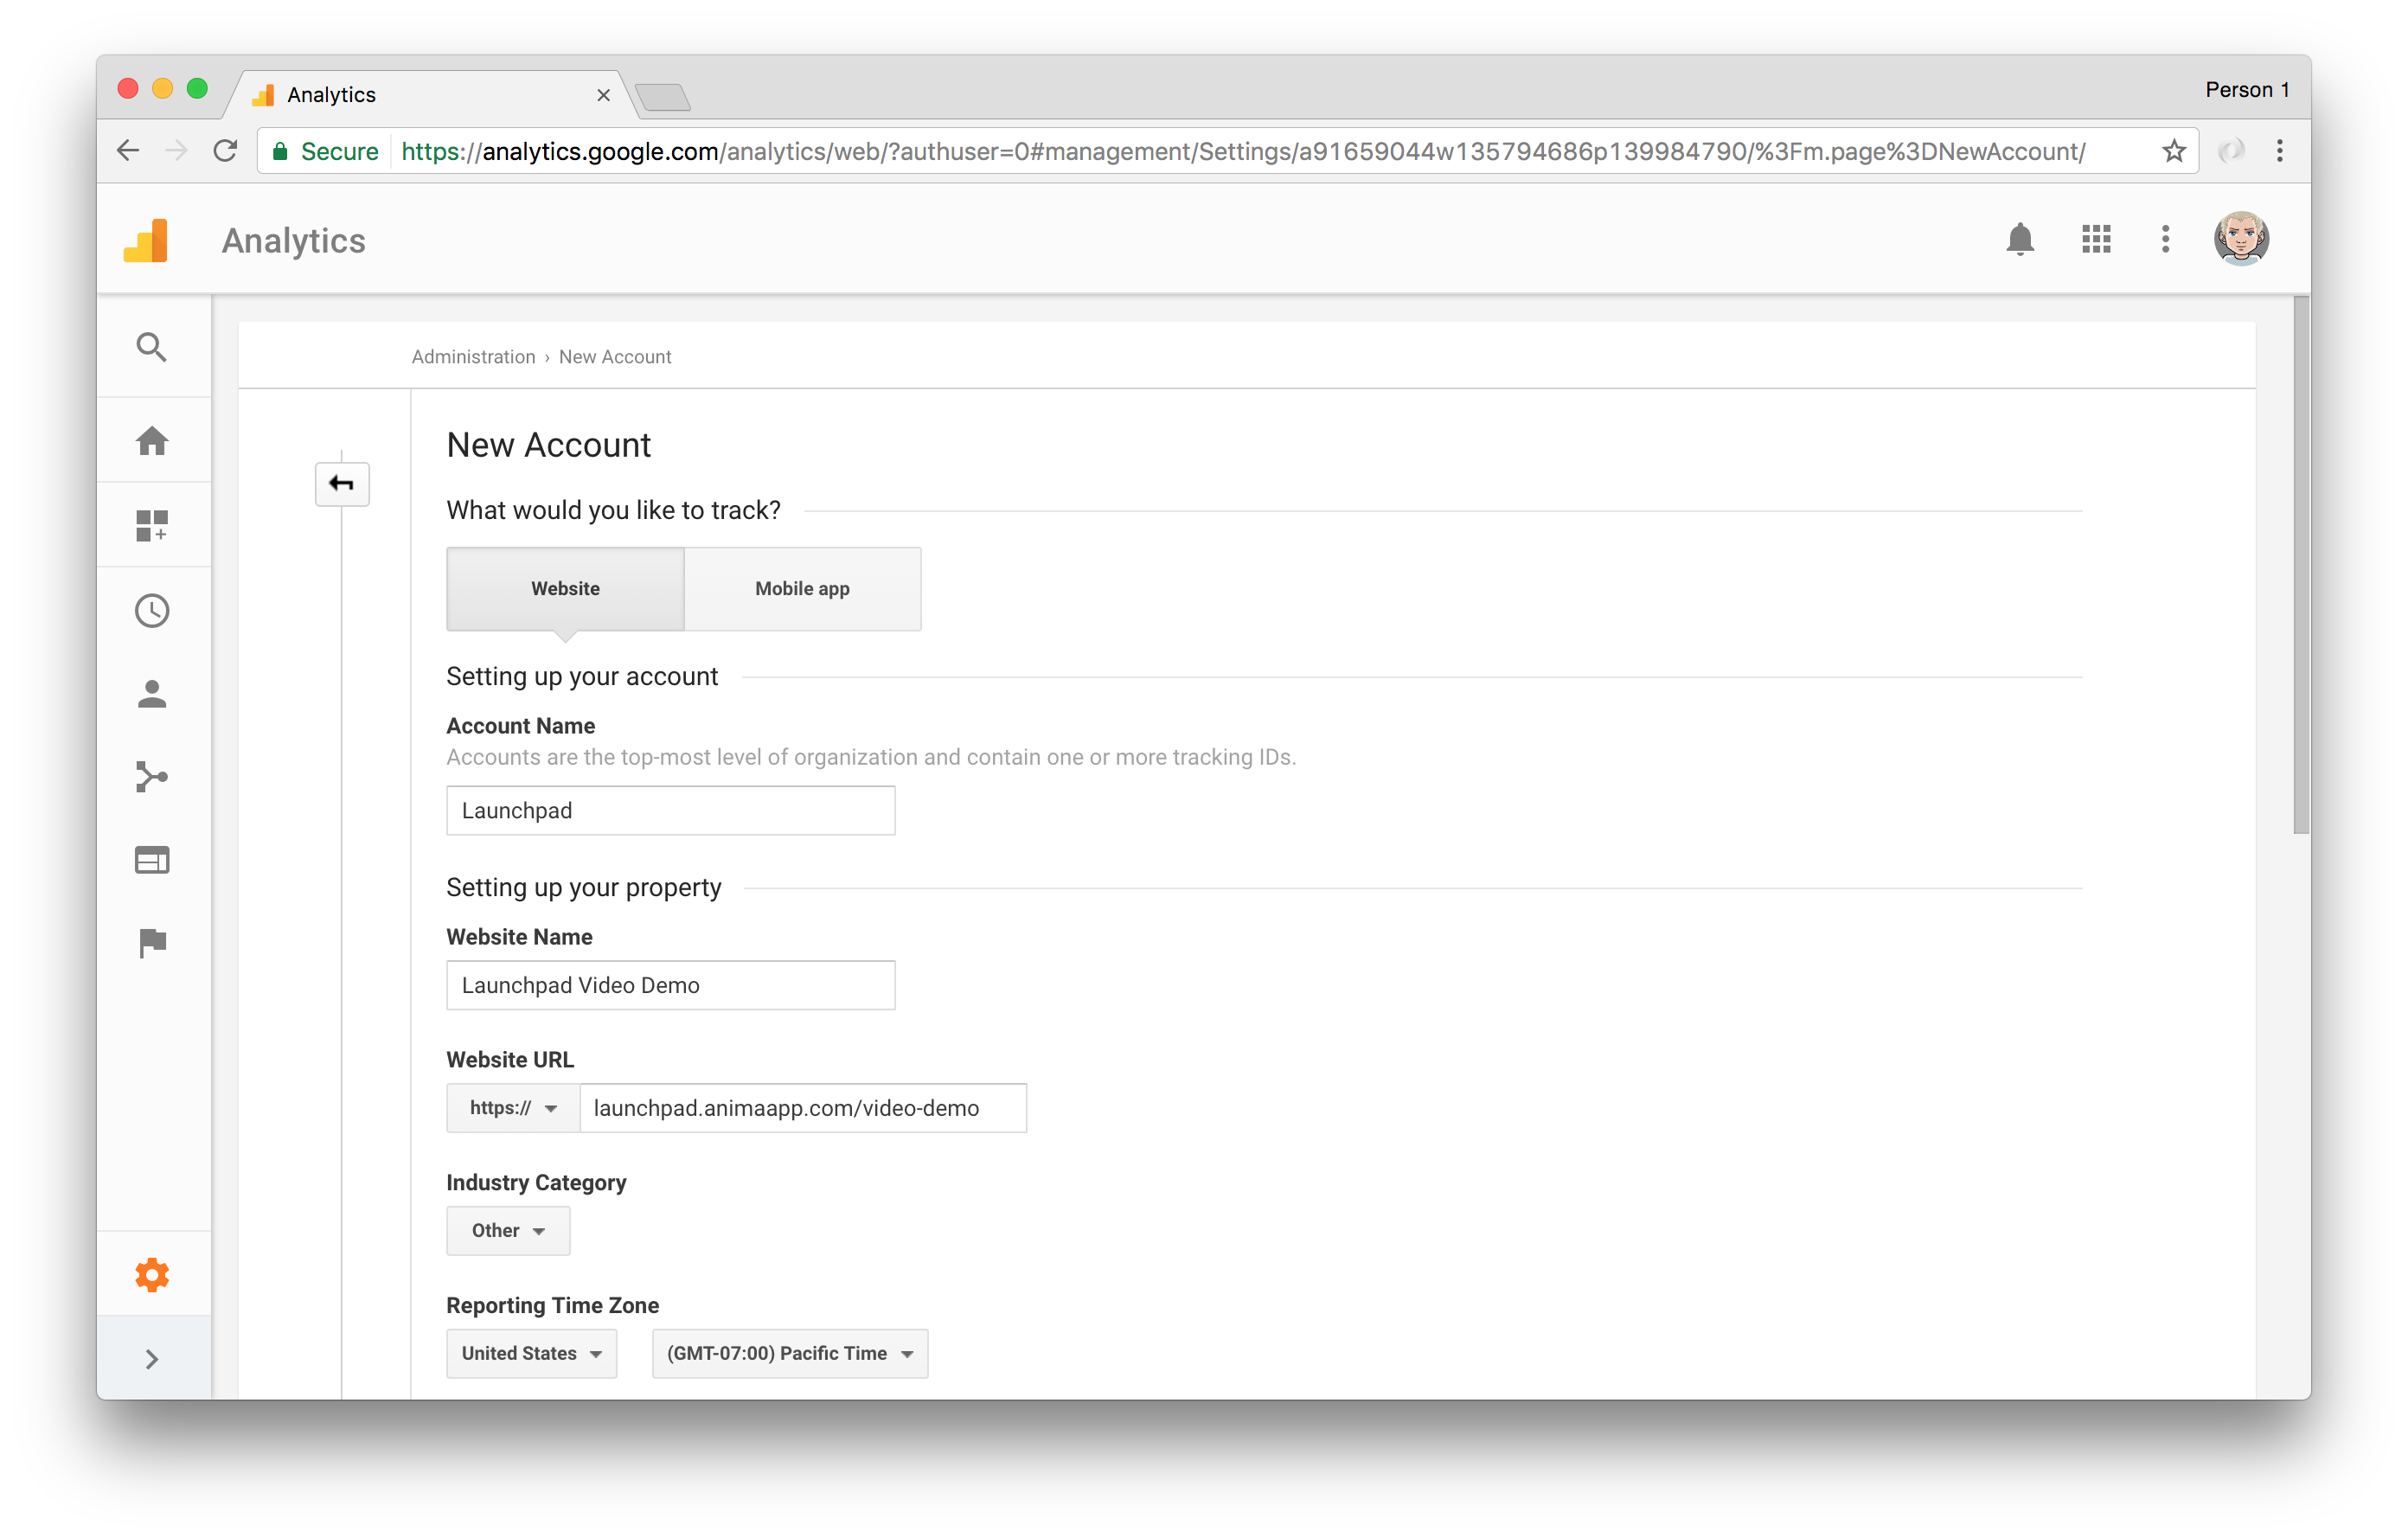
Click ‘Get Tracking ID’
Copy the provided Code snippet
Paste the Code snippet in the Analytics section in Website Settings.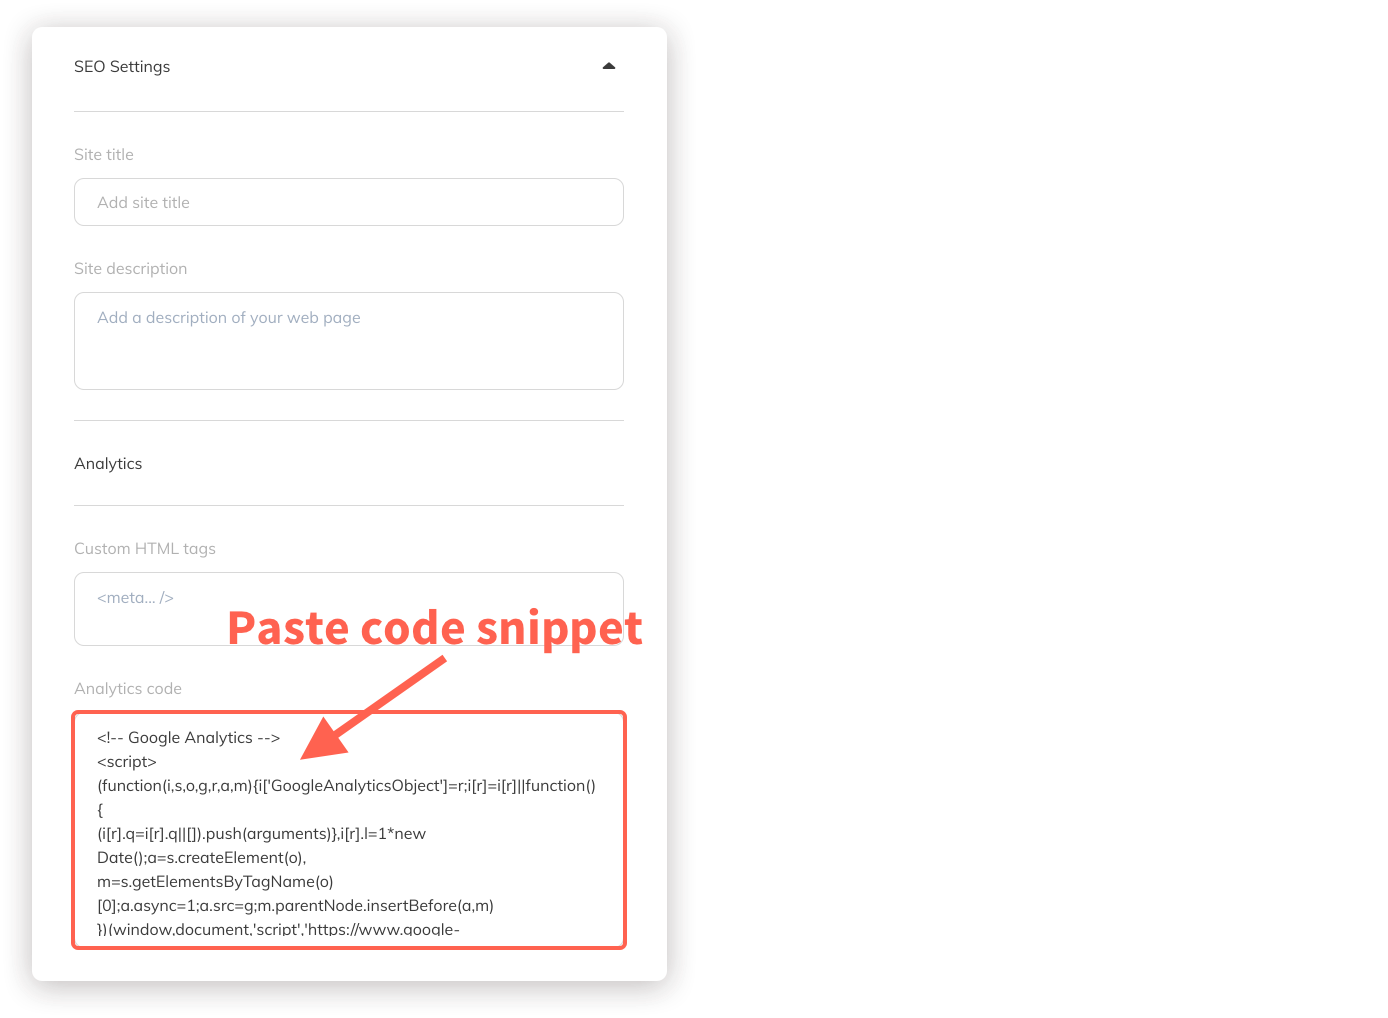
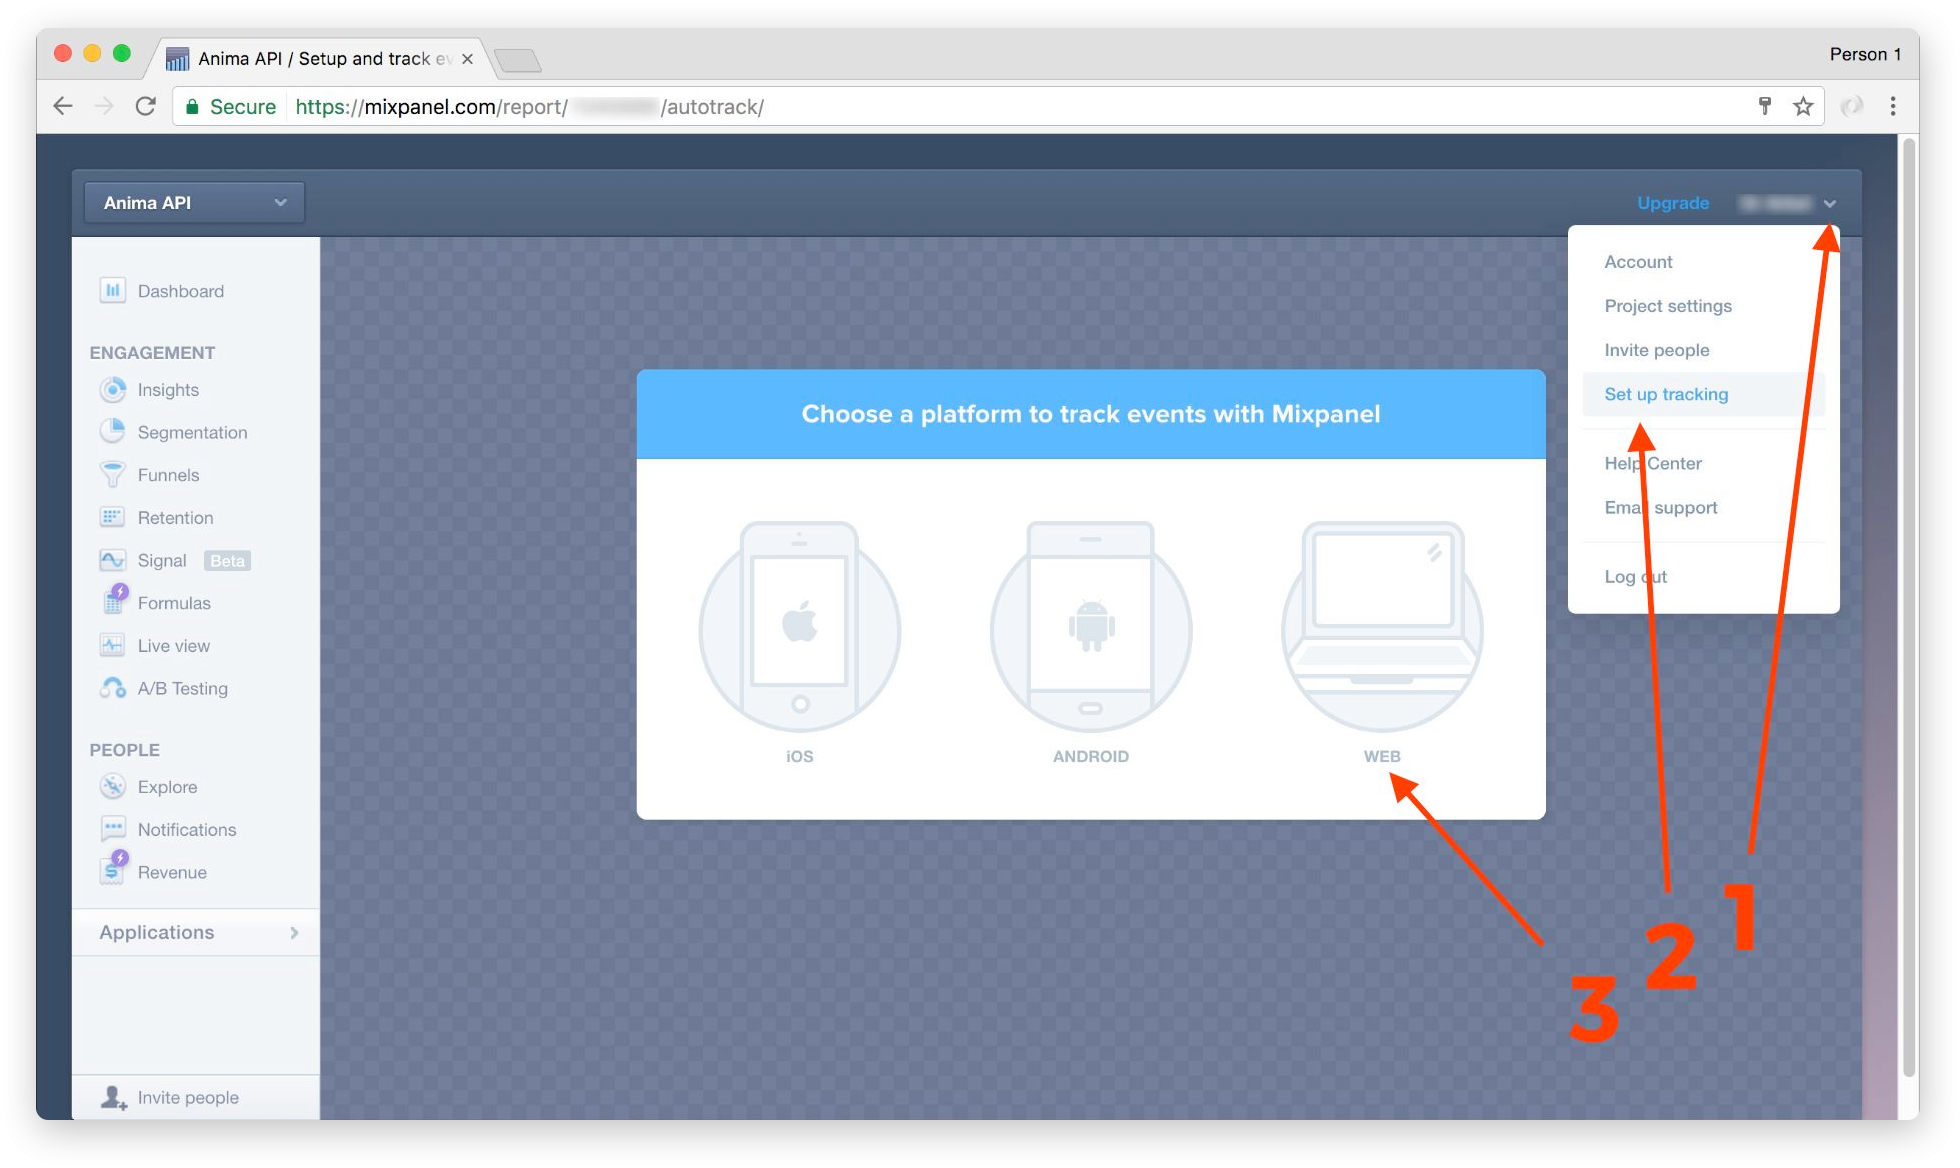
Mixpanel
Create website tracking project:
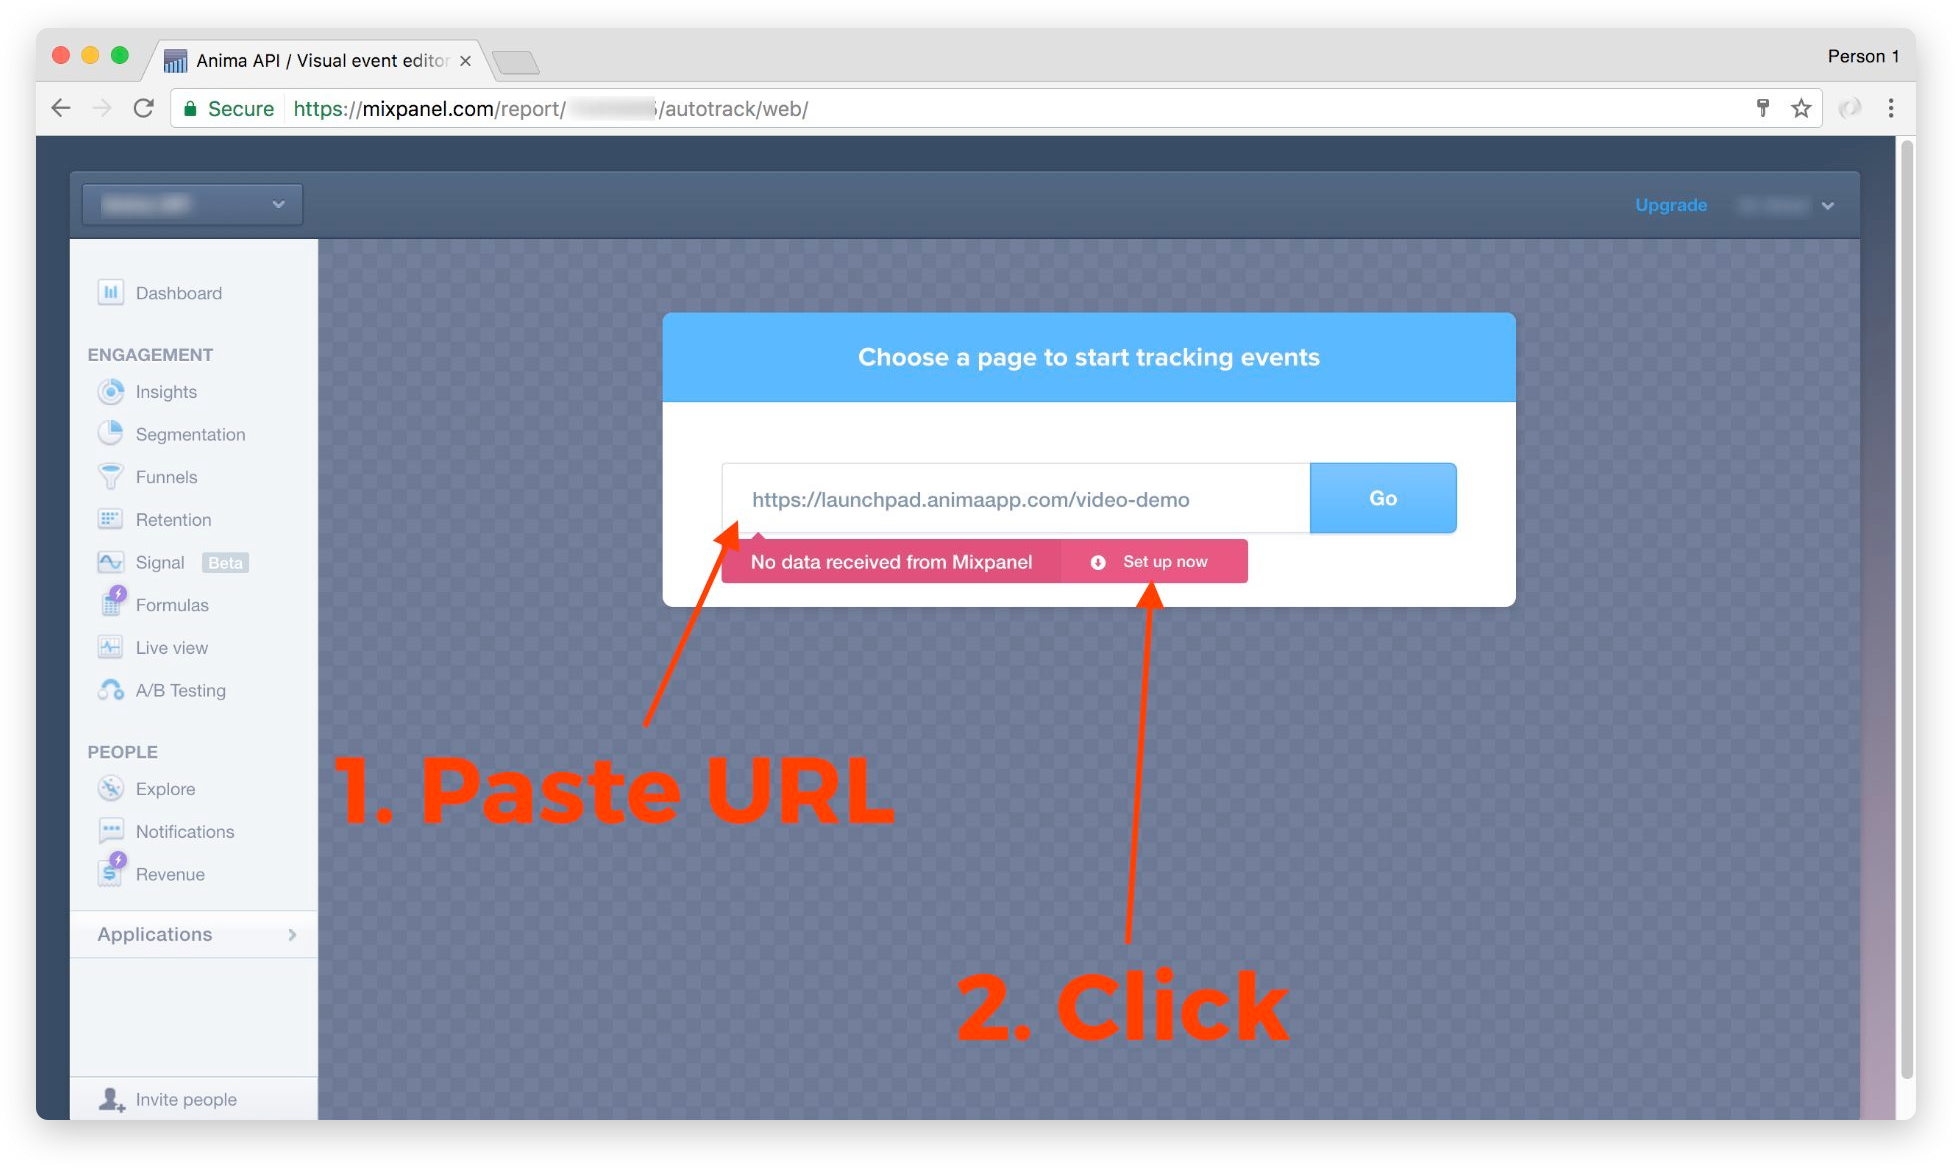
Copy the provided Code snippet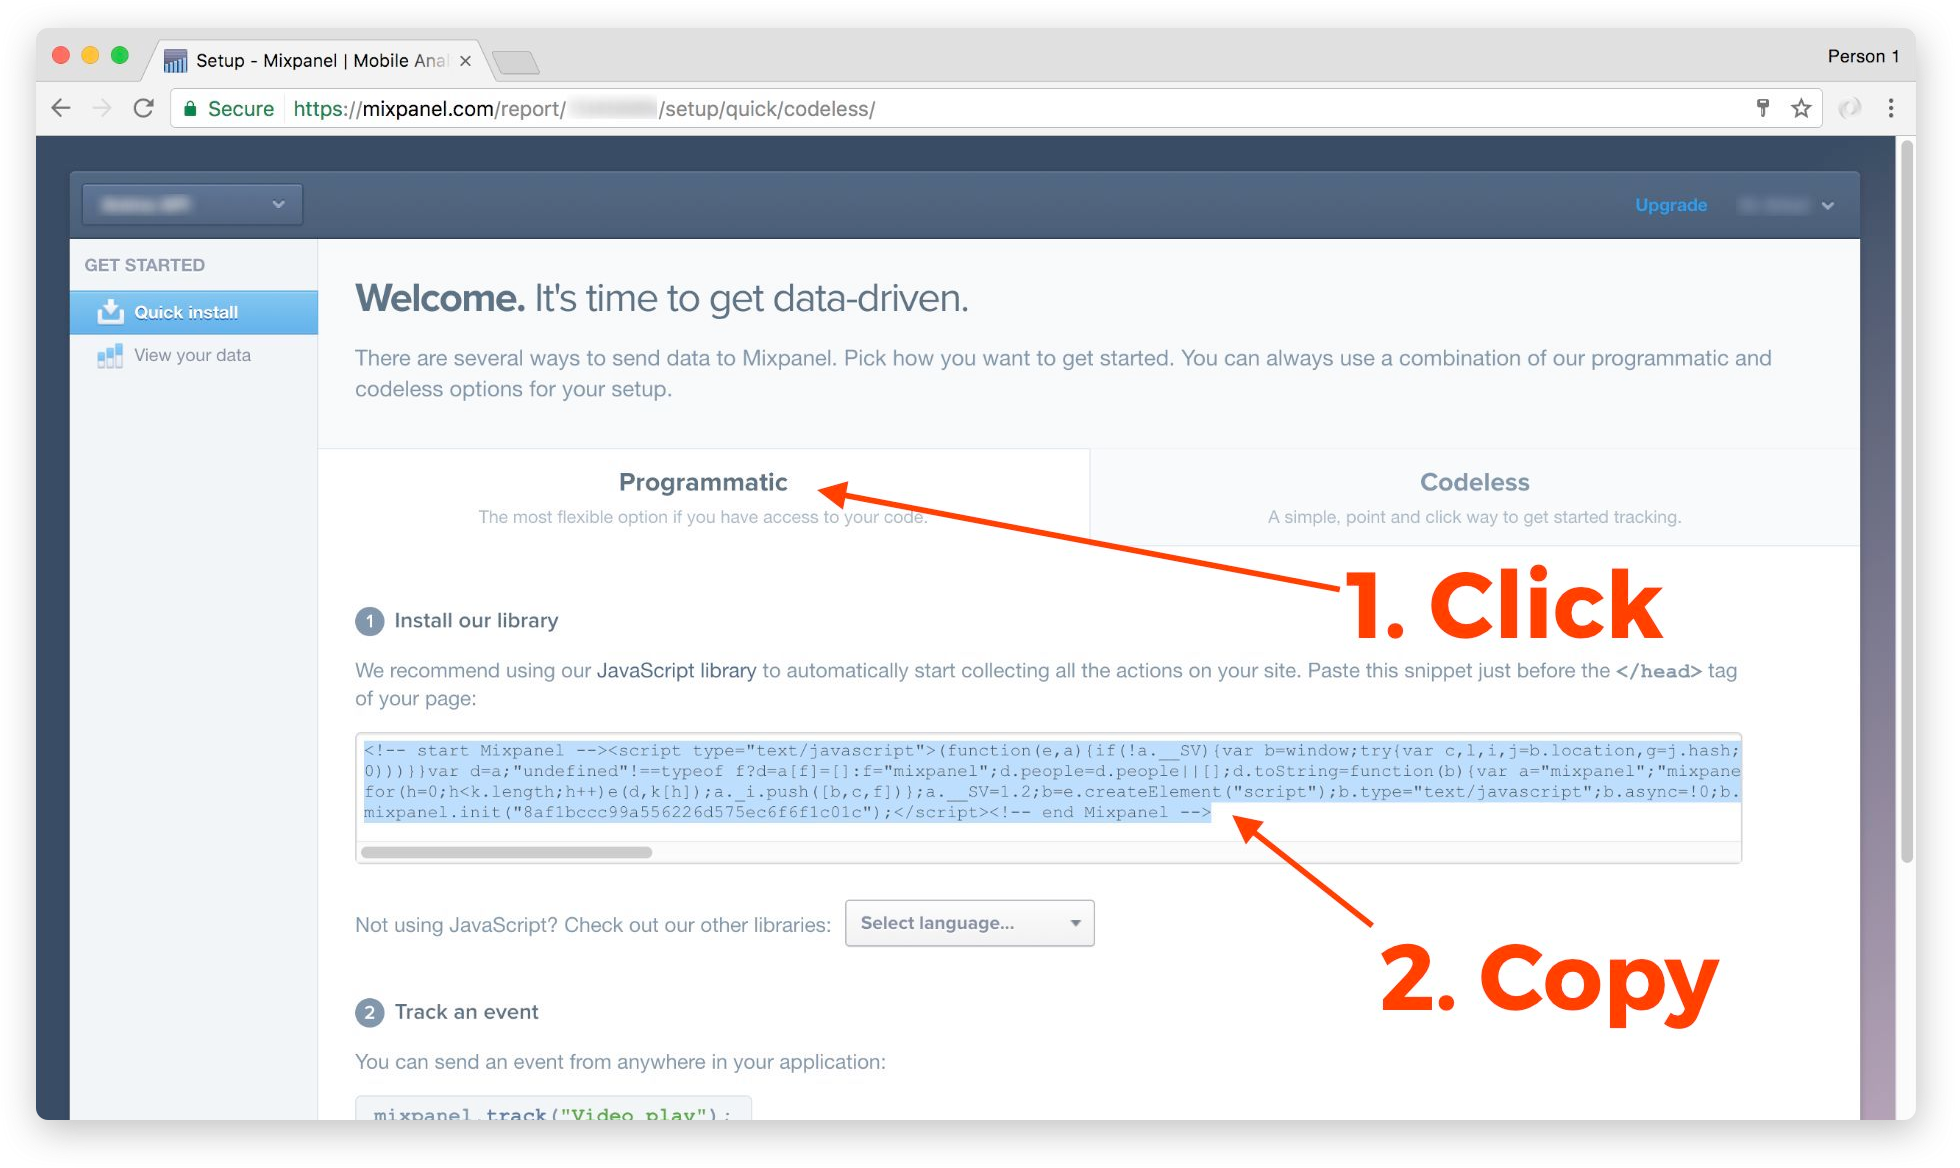
Paste the Code snippet in the Analytics section in Website Settings.
Statcounter
Create website tracking project:
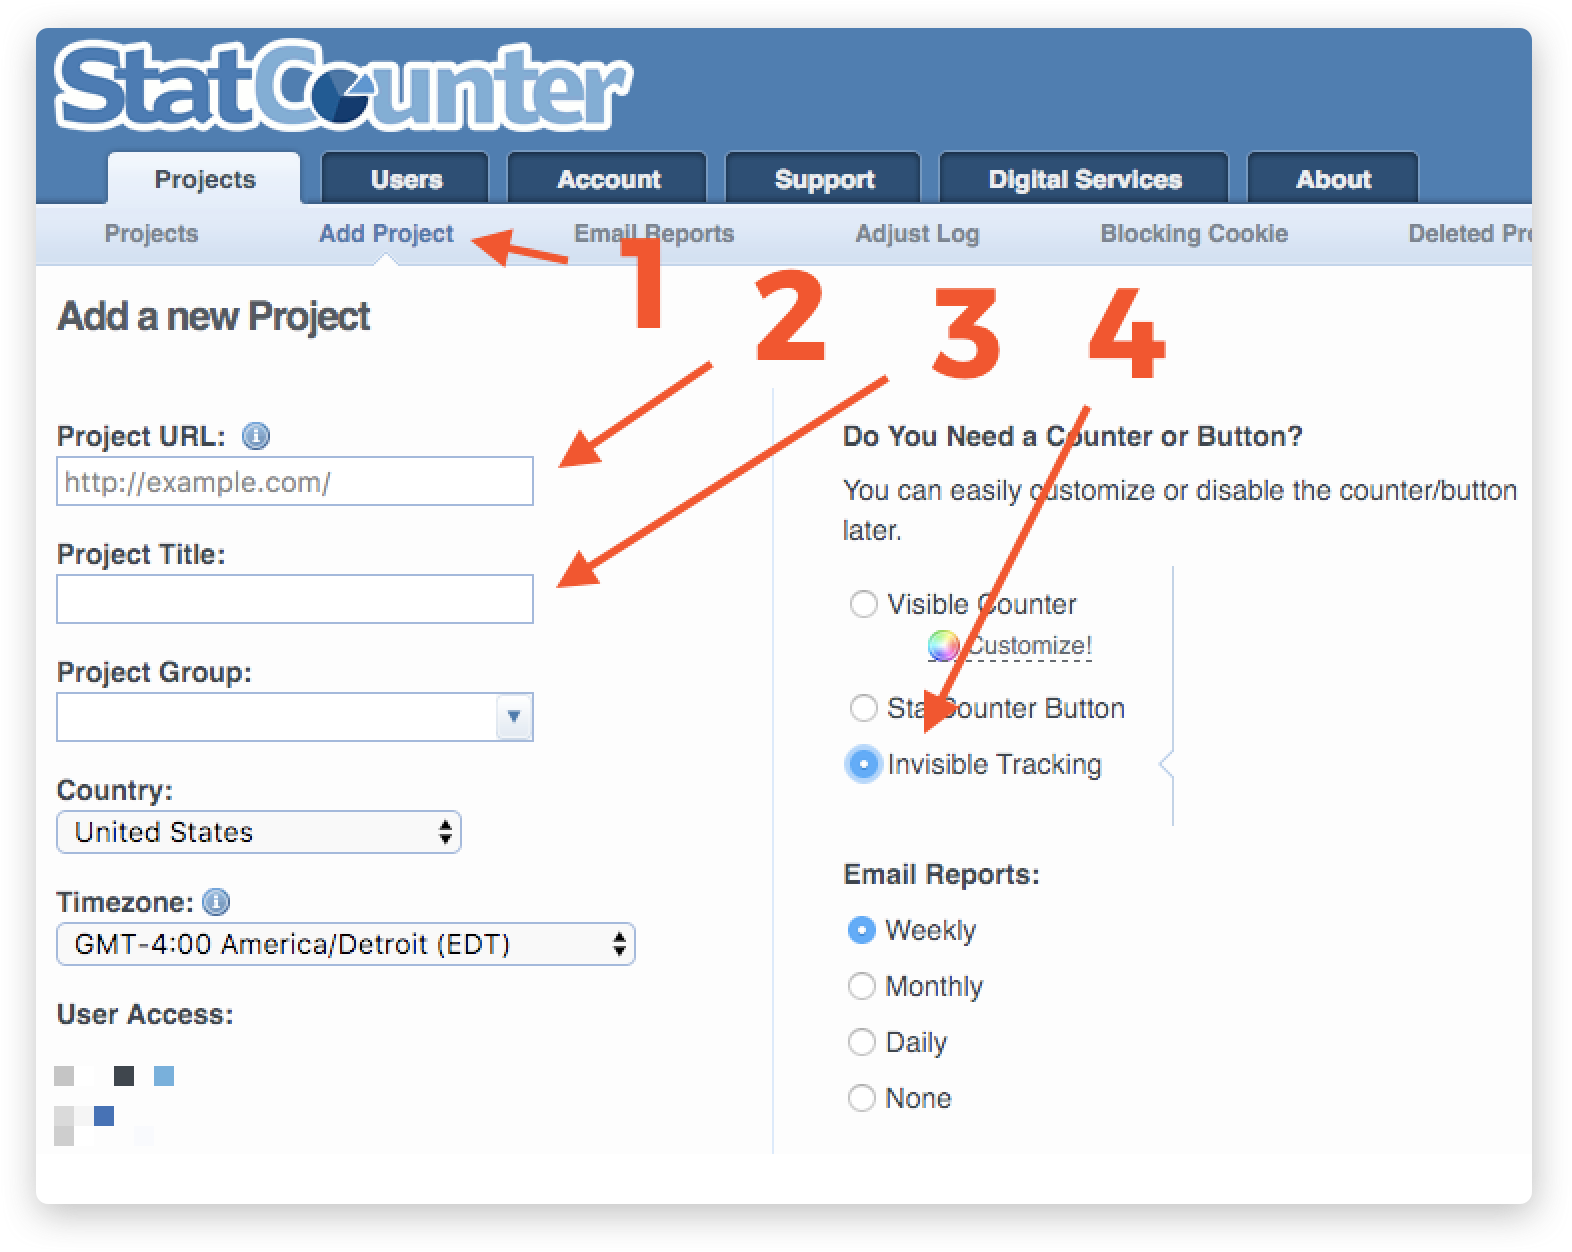
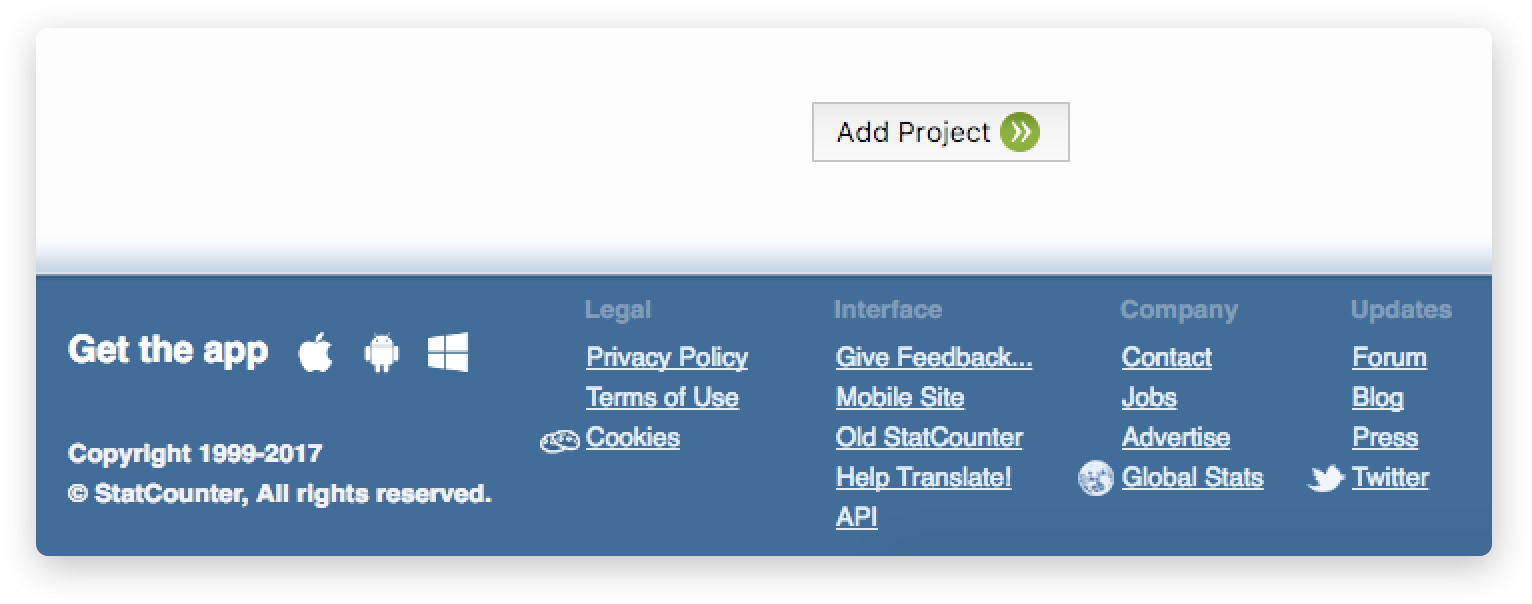
Scroll down and click ‘Add Project‘:
Copy the provided Code snippet


Paste the Code snippet in the Analytics section in Website Settings.
Caught a mistake or want to contribute to the documentation?
Edit this page on Github!